Creating new Events
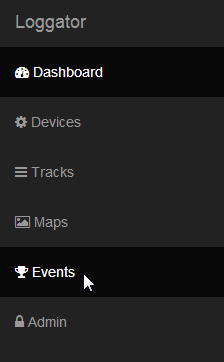
From the menu on the left we click "Events"
You will see a list of all your previous and future events ordered by date.
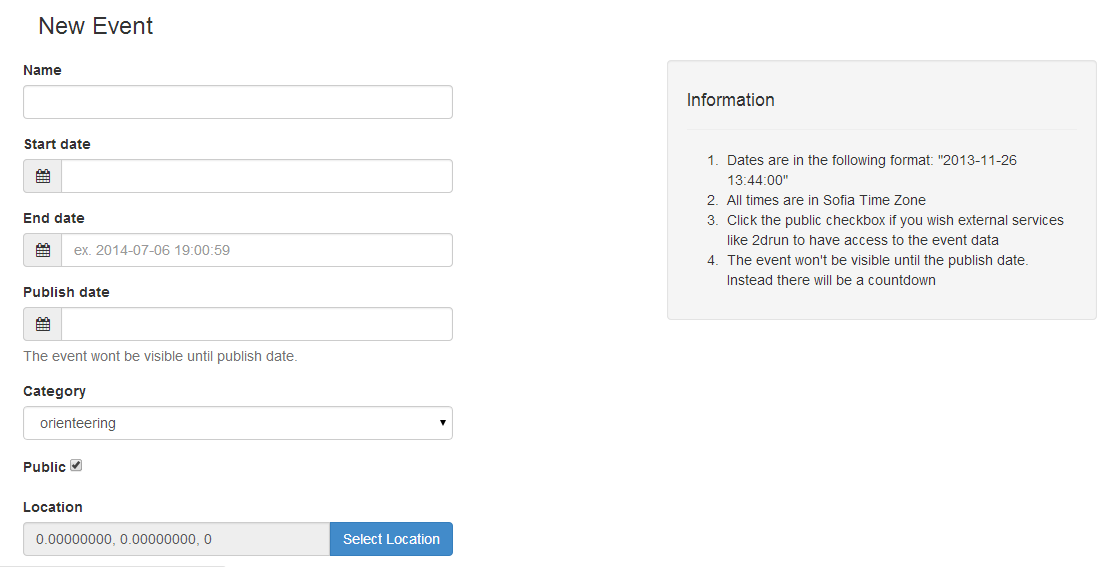
We select New Event which opens up the menu for creating a event.
Required Information for new Events
- Name of the event
- Start Date is the date/time which the event will start.
- End Date is the end of the event. If you are not sure when the event will end choose a later time just in case. Later you can come back end edit the valid end date.
- Publish date - date/time when the event will be visible to the public. Before this date/time a countdown page will be displayed and the event map and competitors won't be visible.
- Category of the event
- The "Public" checkbox determines whether the event will be visible on Loggator.com in the Recent Events page or not. You can still share the link of the event with friends.
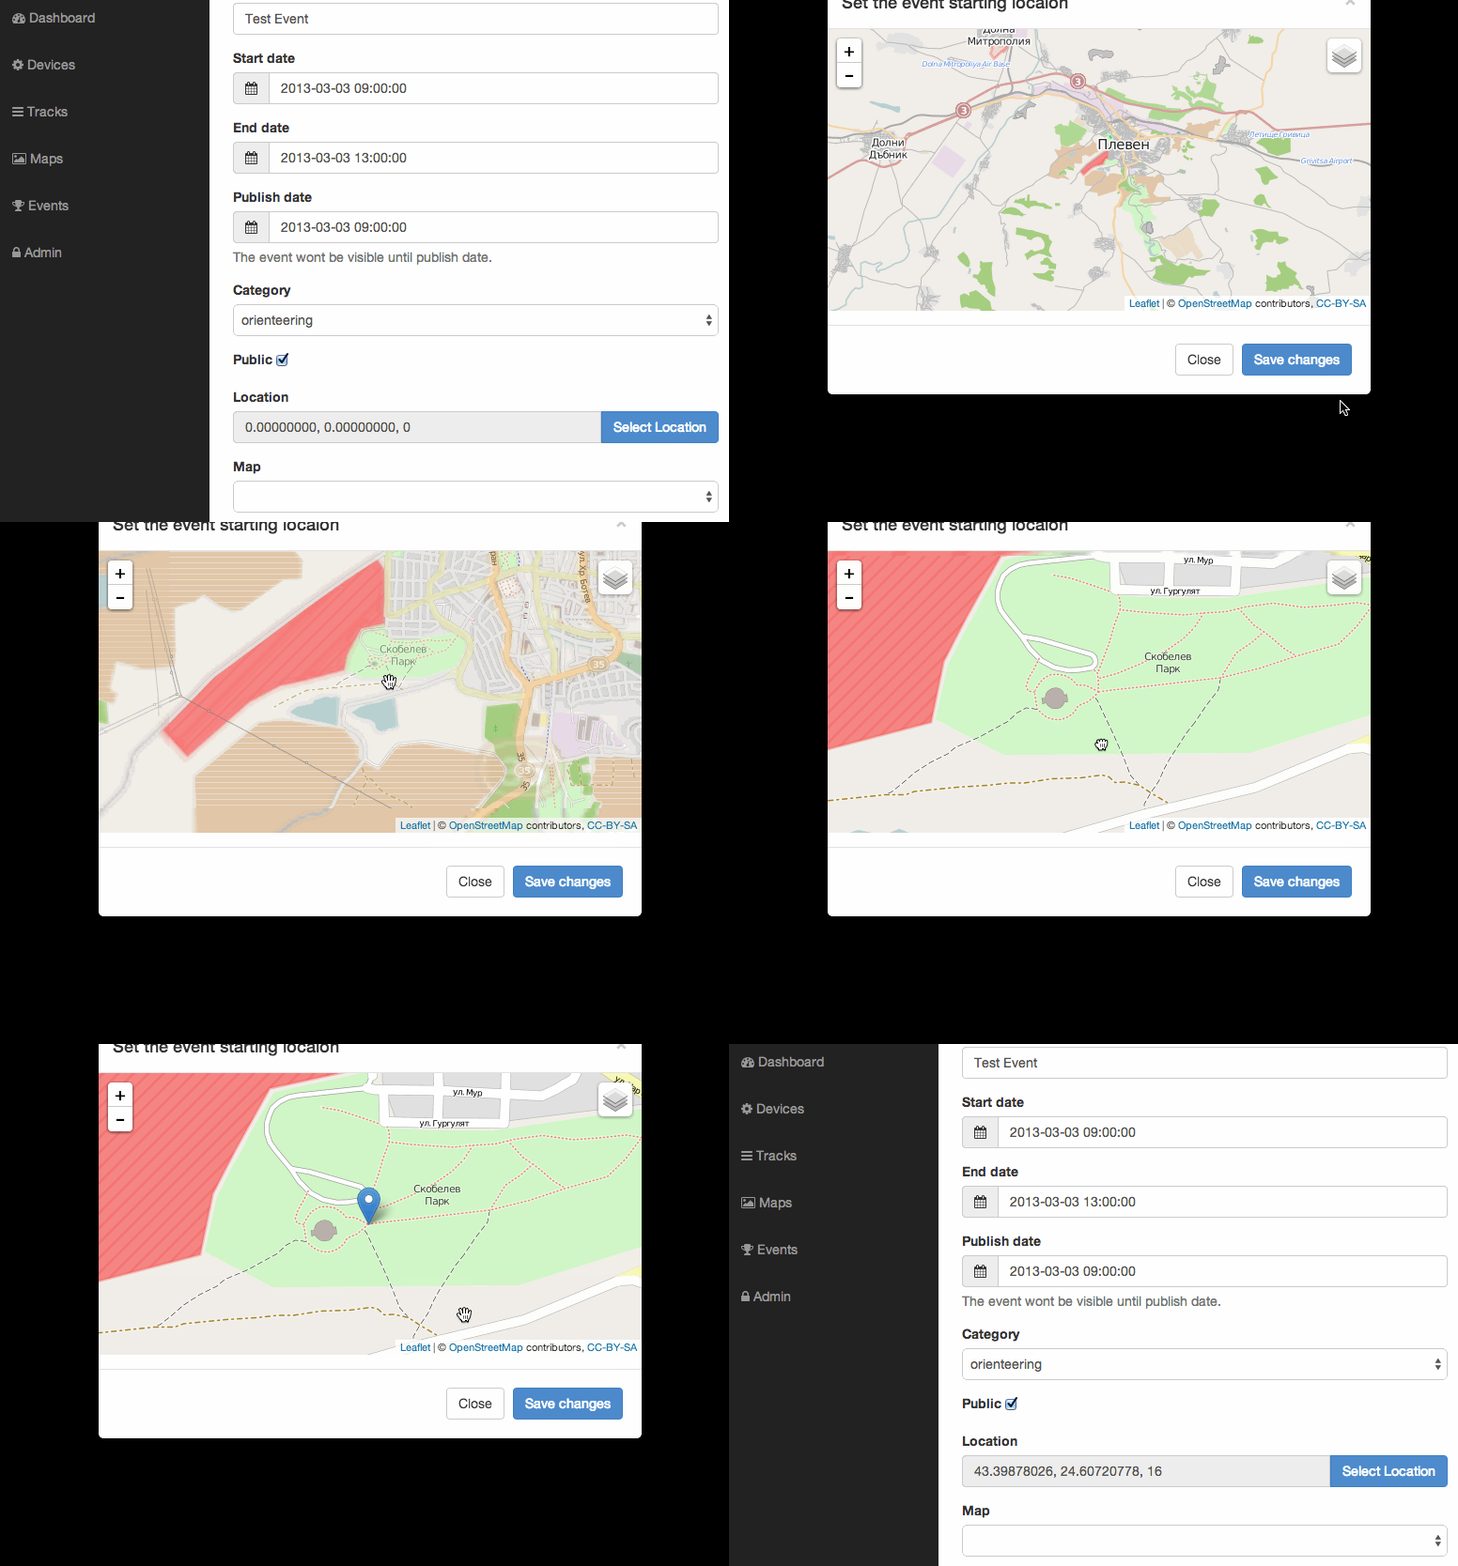
- "Location" Is the events location. We use it to center the map on the right place when the event is shown. When you click on the button a popup will show. We select the location on the map, click save, and then close the location popup.
- Then next step is selecting a Map from the "Map" dropdown. (Importing Maps in Loggator)
- When you are ready click on the Create Event button which will create the event. Now you are ready to proceed to Adding Competitors to Events


